Making a simple SUP board can be a lots of fun. And you don't have to spend a lot of money.
This one costed me around 200$.


1. What we need?
- A drawing of a SUP board.
The drawings are actually for a very simple board, that I designed in 1 hour : ), without really consulting with a naval engineer. What I wanted is a simple SUP board that floats, and that can hold 105 kg without drowning (me ; ) ). The volume of the board is approximately 220 liters. the calculation says you need twice as much ''air'' than your weight (so that half of board sticks out of water).
The drawings are divided in 3 A0 sheets, so that you can print it 1:1 on a supported printer. You will need this drawings later to transfer it on foam...
OK, here is the detailed list of other things that you need:
- styrofoam (or styrodur) 18 sheets 1m x 1m x 50 mm
- polyvinyl acetate glue - cca 1.5 kg
- sandpaper of various grades (80, 120, 160...1 m of each)
- compatible sandpaper holder
- wood saw (or maybe steel saw...it cuts finer cuts)
- plaster for wood - cca 1 kg
- grinder
- Epoxy 2K (4 kg)
- rowing material (110 g/m2)
OK, that is all for start.

2. Glueing together
First thing, you should buy styrofoam (or styrodur)in plates, in dimensions 1m x 1m x 50 mm or similar... For this design you will need 18 sheets.


You will glue 3 of them together, offseting the center one by 50 mm with a polyvinyl acetate glue (it is actually a glue for wood but works great with styrofoam).

You will end up with 6 ''sandwiches''.
Assemble/glue 3 ''sandwiches'' together joining on the slots.
Now you will end up with 2 long sandwiches :) .

3. Cutting the surplus
OK, now, my suggestion is to work in this stage with two ''halfs'' of the board for easier manipulation.
At least that is what I did...I did not have a big table to fit the whole board at once while sanding.

So let us suppose the glue dried, and you got your design printouts ready.


You can then take a wood saw and cut close to line...not really on the line, you will be able to thin it at the end with sand paper.

4. Sanding
Once you cutted all the sides you can start with paper sanding


Sanding the styrofoam is very easy and lots of fun (at this stage we assume that it would be better to use styrodur...is little bit more expensive.


5. Gluing together the 2 halfs


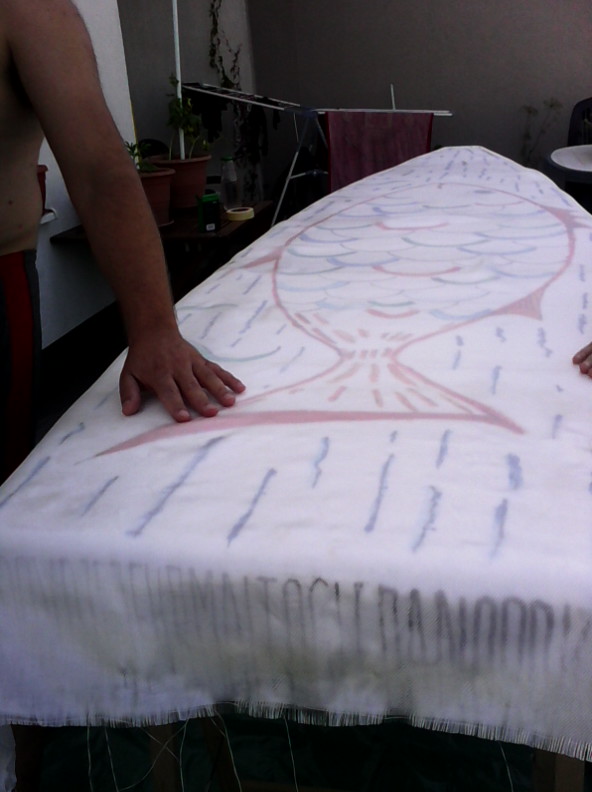
6. Drawing directly on board prior to epoxying...(optional)


7. Applying rowing on both sides